
Last Updated on March 10, 2026 by Kimberly Stroh
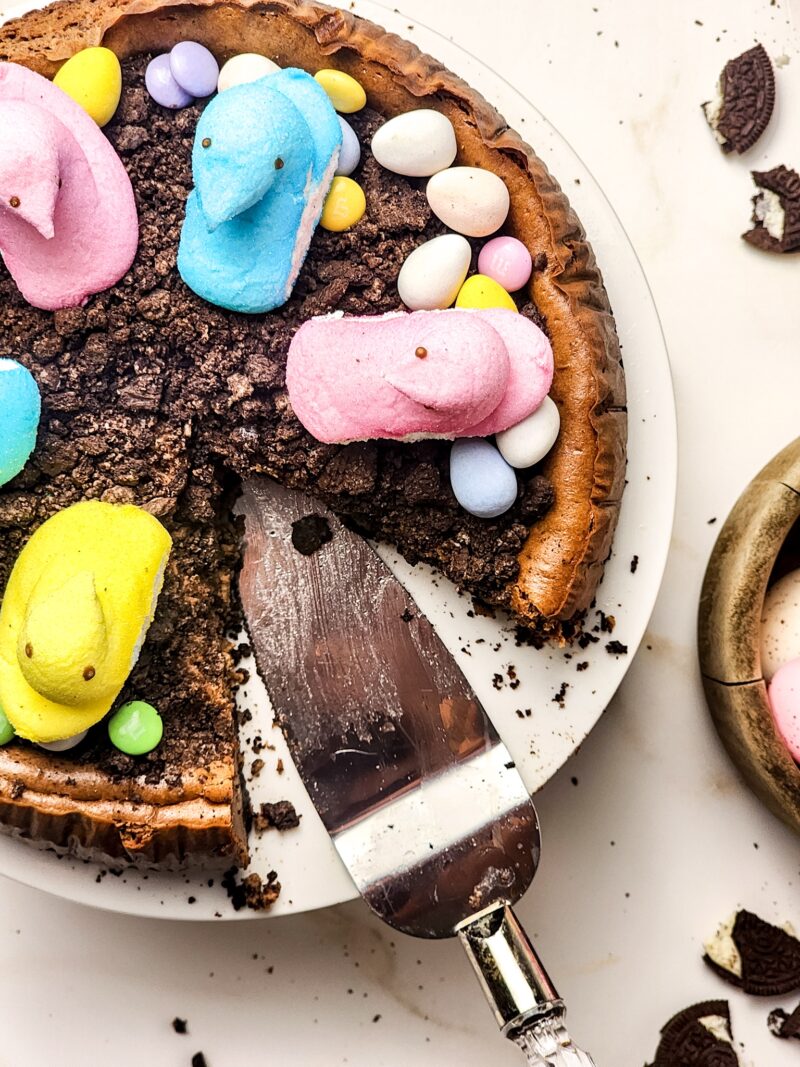
Spring desserts should feel just as fun and festive as the holiday itself, and this Easter Chocolate Oreo Cheesecake delivers exactly that. With a rich chocolate cheesecake filling, a buttery Oreo cookie crust, and colorful Easter candy toppings, this dessert is decadent. It’s the perfect centerpiece for your Easter dessert table and a guaranteed crowd-pleaser for kids and adults alike.
Why We Love This Easter Cheesecake
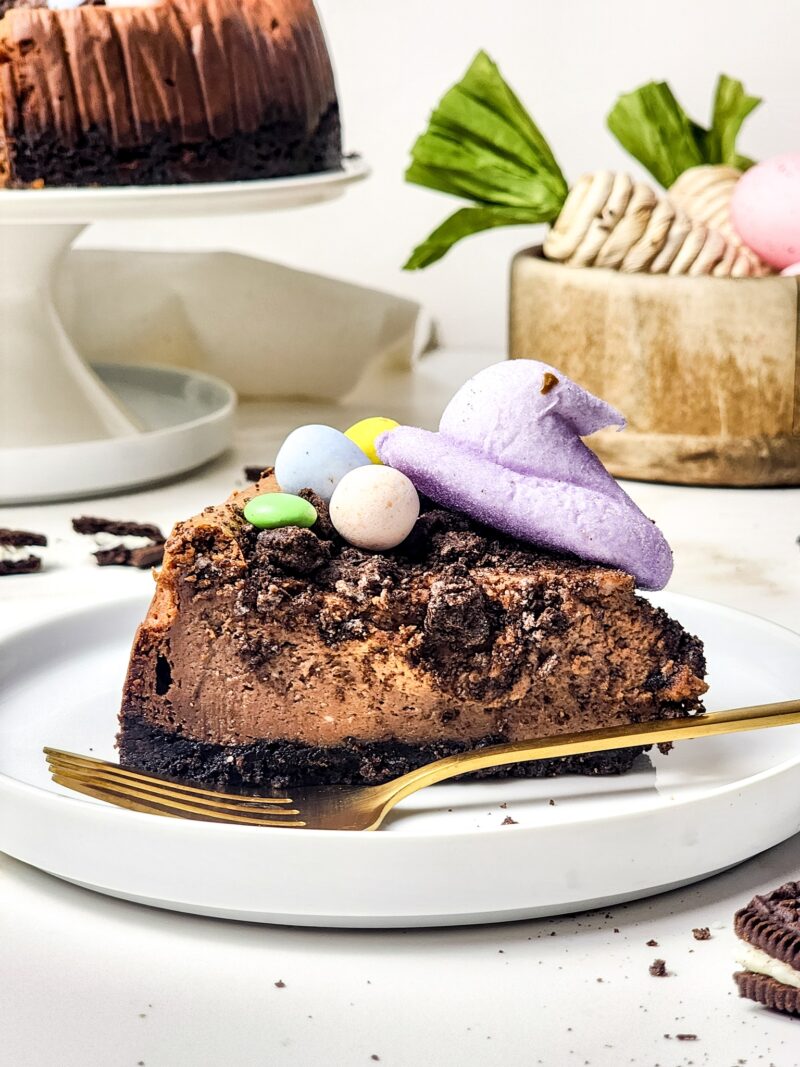
What makes this Easter Chocolate Oreo Cheesecake so special is the combination of creamy chocolate cheesecake and the irresistible crunch of an Oreo crust. The smooth filling is made with cream cheese, cocoa powder, and sour cream for a perfectly rich texture, while the crust adds that classic cookies-and-cream flavor everyone loves. Once chilled and set, the cheesecake becomes the perfect base for festive toppings like crushed Oreos, pastel candies, Cadbury eggs, and fluffy Peeps.
Looking for more Easter dessert options? My Easter Dessert Trifle is colorful and fun, and my Easter Bunny Cookie Bars are a treat that the kids love!
Kitchen Tools You’ll Need
You’ll only need a few simple kitchen tools to make this Easter Chocolate Oreo Cheesecake. A 10-inch round springform pan is ideal for cheesecakes because it allows you to easily release the dessert without damaging the crust. Parchment paper helps prevent sticking and makes removing slices much easier. To prepare the crust, a food processor quickly turns the Oreos into fine crumbs, creating the perfect base for this rich and creamy cheesecake.
Easter Chocolate Oreo Cheesecake Ingredients:
- Oreo: Use the classic Oreo cookie
- Melted Butter: I always use salted
- Cream Cheese: Full fat is best for flavor
- Granulated Sugar
- Salt:
- All-Purpose Flour:
- Cocoa Powder: I use Hershey cocoa brand
- Eggs: Size large
- Vanilla Extract: Adds flavor depth
- Sour Cream: Adds a slight tang to the cheesecake
- Toppings: Crushed Oreo, Pastel M&M Candies, Cadbury Eggs, Peeps
Tips For Making Cheesecake
Making cheesecake at home is easier than many people think, but a few simple techniques can help ensure it turns out rich, smooth, and crack-free. Paying attention to ingredients, mixing, and baking methods will help you achieve that classic creamy texture every time.
- Use room temperature ingredients: Let cream cheese, eggs, and other dairy ingredients sit out before mixing so the batter blends smoothly without lumps.
- Mix gently: Overmixing adds too much air to the batter, which can cause the cheesecake to puff up while baking and crack as it cools. Mix only until ingredients are combined.
- Press the crust firmly: When making the crust, pack the crumbs tightly and evenly into the pan so it holds together when sliced.
- Watch for a slight jiggle: The center should still have a small jiggle when you gently shake the pan. It will firm up as the cheesecake cools.
- Cool gradually: Let the cheesecake cool slowly, often by turning off the oven and cracking the door open, to prevent sudden temperature changes that can cause cracks.
- Chill before serving: Refrigerate the cheesecake for at least four hours, but overnight is best for the ideal texture and flavor.
- Slice with a warm knife: Run a knife under hot water and wipe it clean between slices for smooth, neat cuts.
How To Store Leftovers
To store leftover cheesecake, cover it tightly with plastic wrap or place it in an airtight container, then refrigerate. The Easter Chocolate Oreo Cheesecake will stay fresh in the refrigerator for about 3 to 5 days. For longer storage, you can freeze individual slices by wrapping them tightly in plastic wrap and placing them in a freezer-safe container. When ready to enjoy, thaw the slices overnight in the refrigerator for the best texture and flavor.
Directions To Make Your Easter Chocolate Oreo Cheesecake
Preheat your oven to 325°F (163°C). Grease a 9-inch round cake pan or line the bottom with parchment paper.
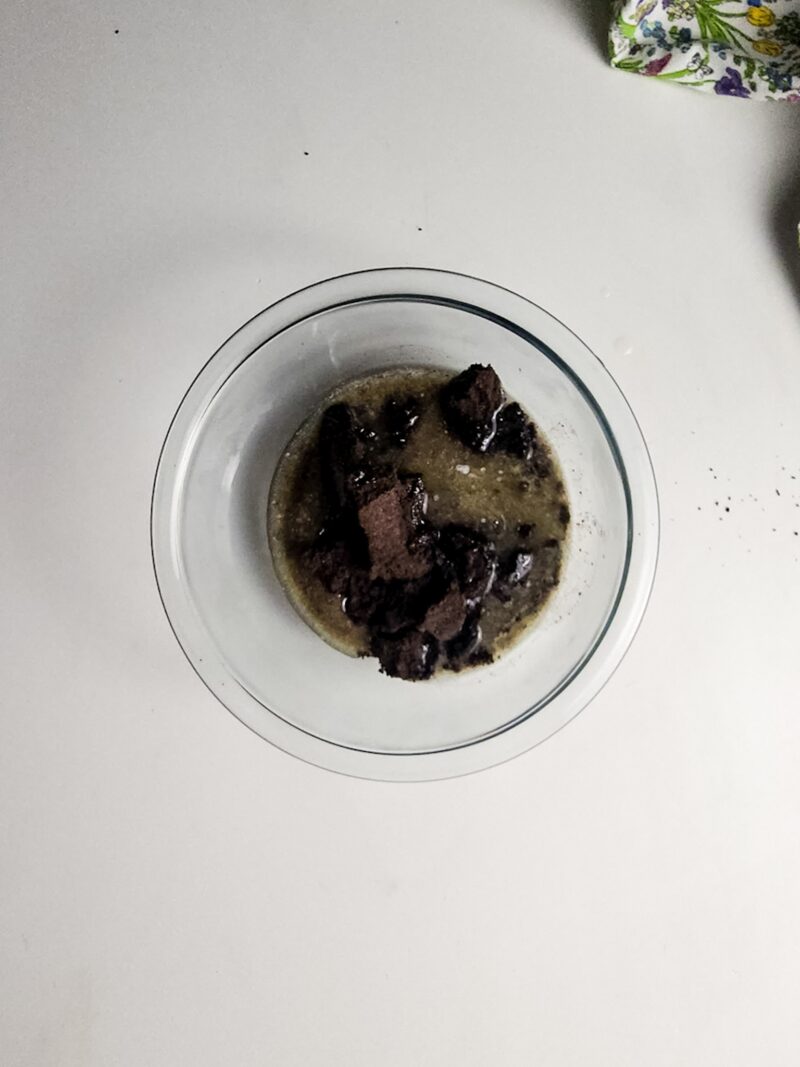
To make the Oreo crust, blend Oreos into crumbs using a food processor or a plastic bag and rolling pin. Mix the crumbs with ½ cup of melted butter until the mixture is well combined.
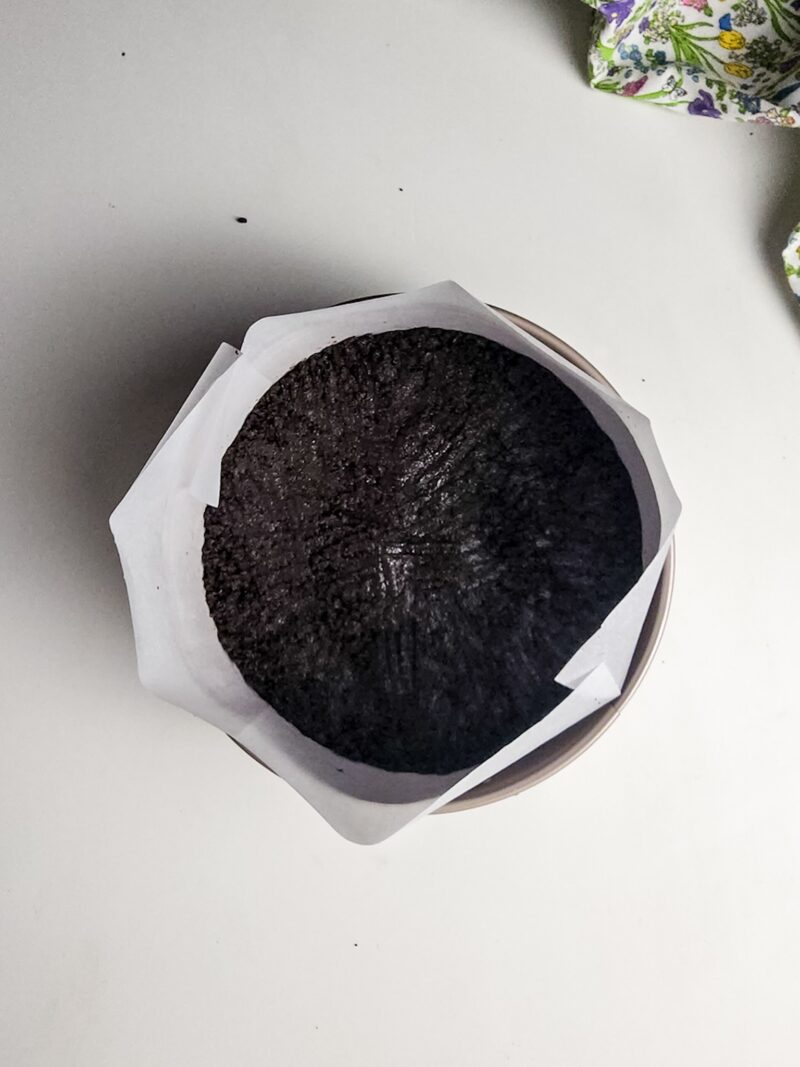
Press the Oreo crust mixture evenly into the bottom of the prepared cake pan. Place the crust in the freezer while making the filling.
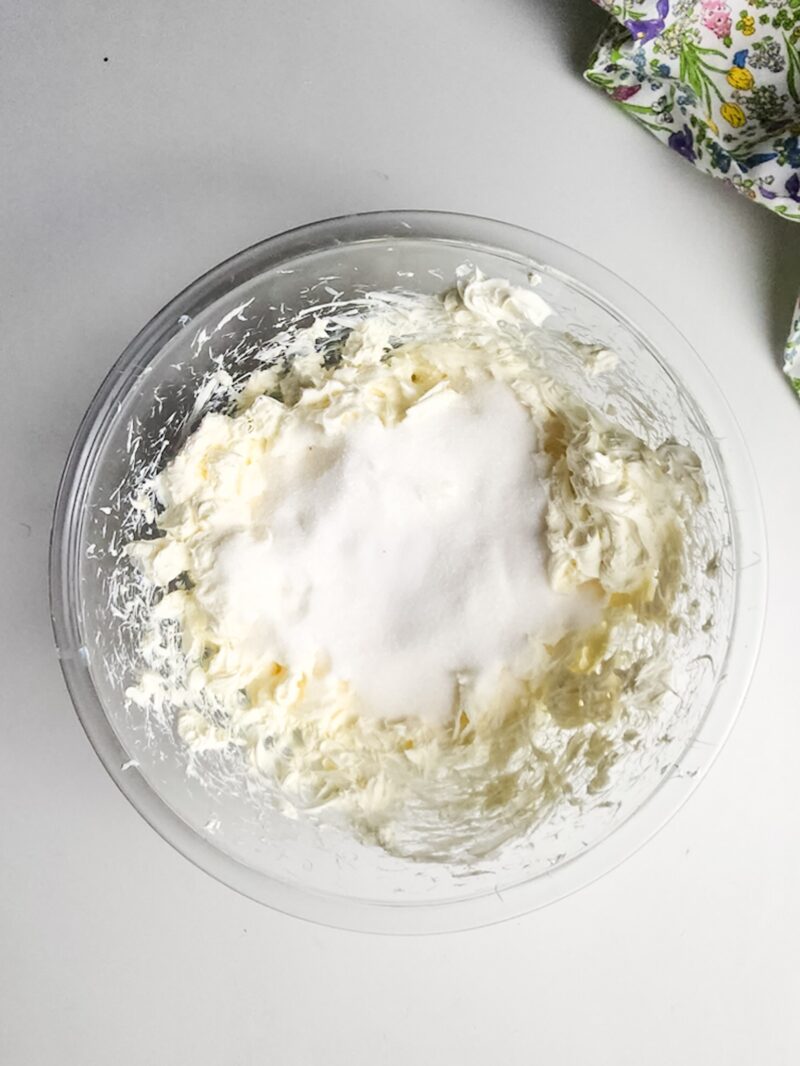
For the cheesecake filling, beat 24 ounces of cream cheese with 1 cup of granulated sugar and ½ teaspoon of salt in a large mixing bowl until smooth and creamy.
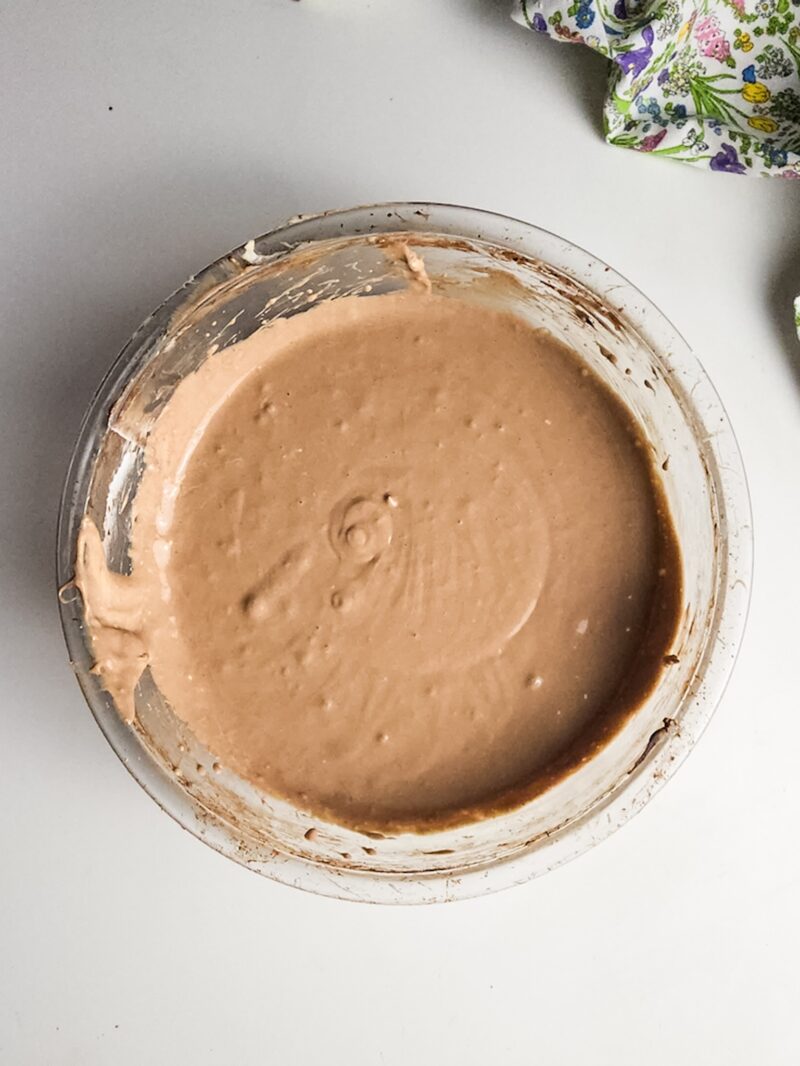
Add 1 ½ tablespoons of all-purpose flour and ¼ cup of cocoa powder to the mixture, and mix until fully combined.
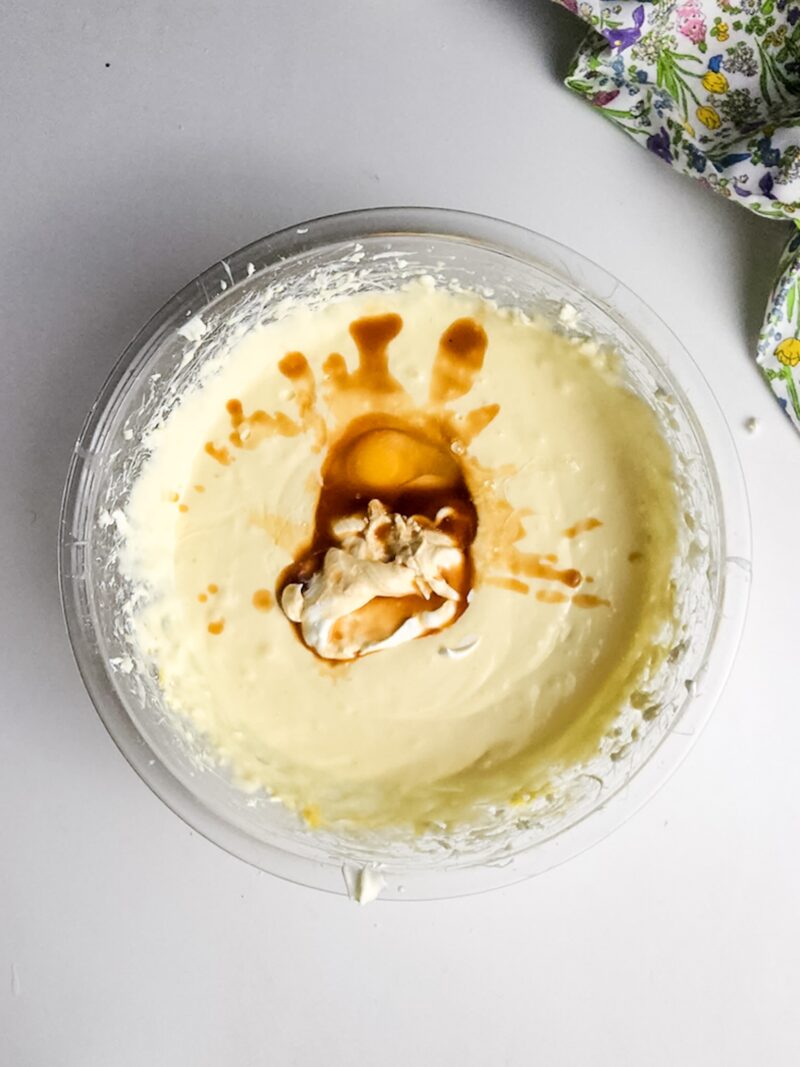
Add 4 eggs one at a time, beating well after each addition. Stir in 1 tablespoon of vanilla extract and ½ cup of sour cream on the addition of the last egg, mixing until smooth.
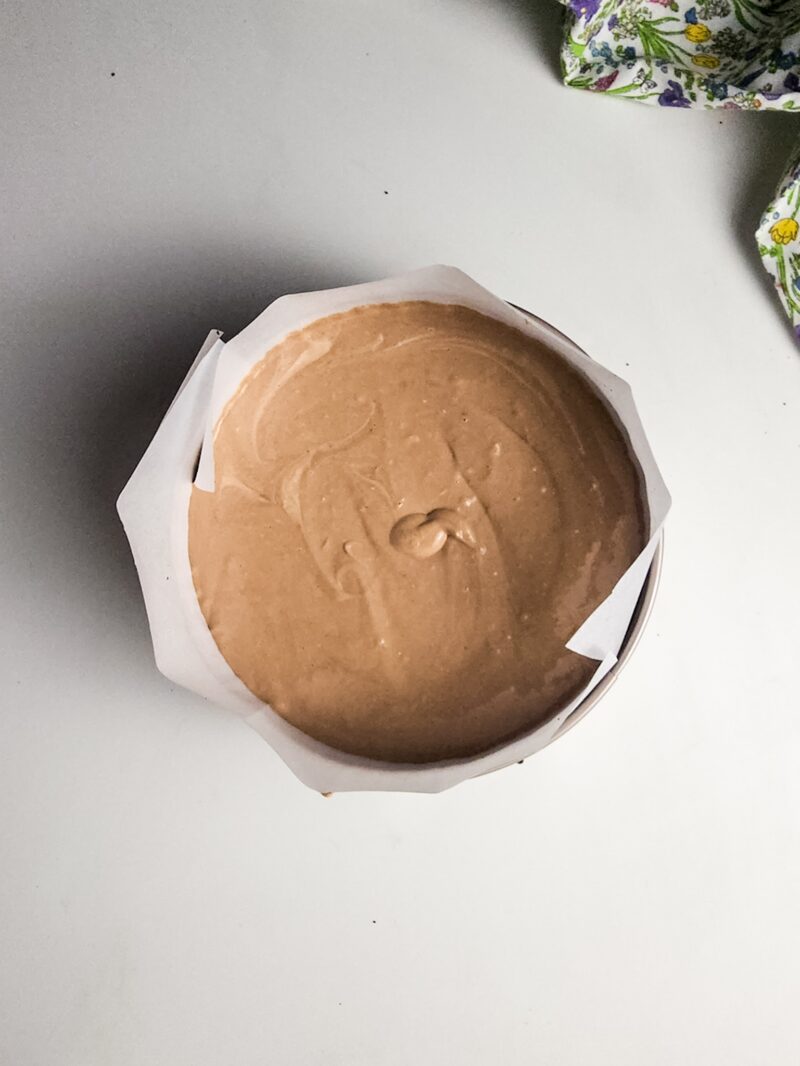
Pour the cheesecake batter over the Oreo crust in the cake pan. Smooth the top with a spatula.
Bake the cheesecake in the preheated oven for 45-50 minutes, or until the edges are set and the center is just slightly jiggly. Turn off the oven and let the cheesecake cool in the oven for about 1 hour with the oven door cracked open. Afterward, refrigerate the cheesecake for at least 4 hours or overnight to fully set.
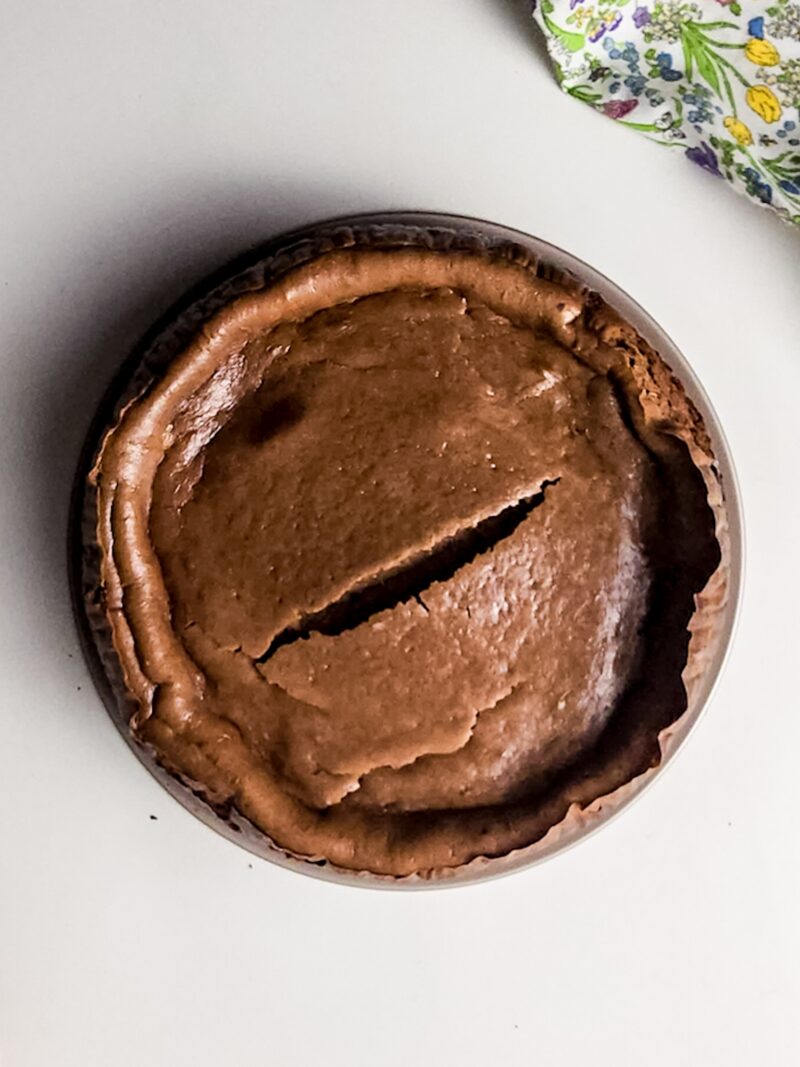
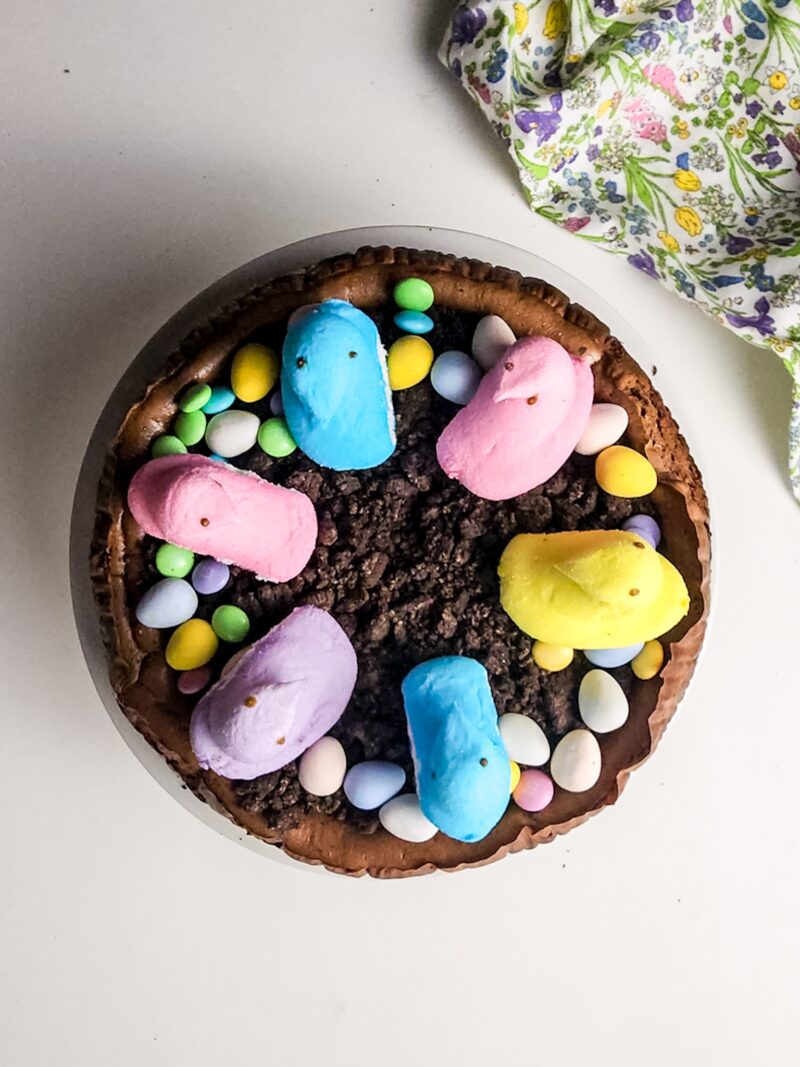
Once the cheesecake is chilled and set, top with crushed Oreos, Cadbury eggs, and Peeps for a festive touch.
Easter Chocolate Oreo Cheesecake
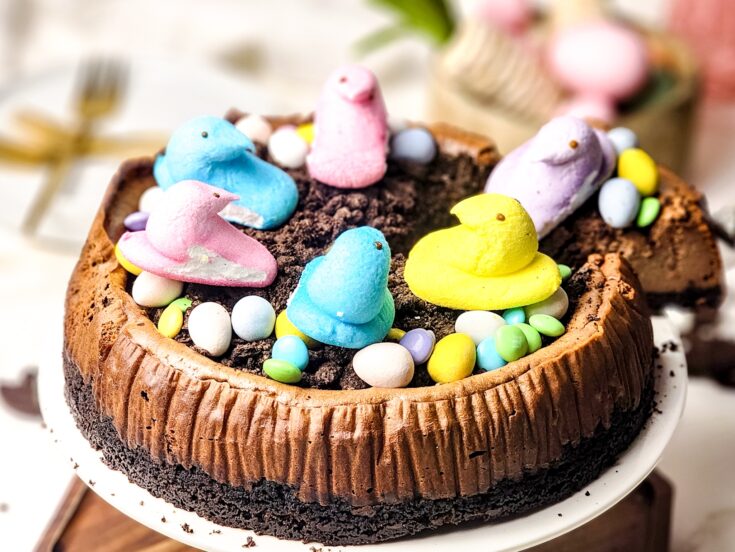
Creamy, chocolatey, and rich, this Easter Chocolate Oreo Cheesecake is a delicious crowd-pleasing dessert. The rich chocolate flavor and the Easter candy on top are perfect for your celebration.
Ingredients
For The Crust:
- 25 oreos, blended to crumbs
- ½ cup melted butter
For The Cheesecake:
- 24 ounces cream cheese
- 1 cup white granulated sugar
- ½ teaspoon salt
- 1 ½ tablespoons all-purpose flour
- ¼ cup cocoa powder
- 4 eggs
- 1 tablespoon vanilla extract
- ½ cup sour cream
For The Toppings:
- Crushed Oreos
- Pastel M&M’s
- Cadbury Eggs
- Peeps
Instructions
- Preheat your oven to 325°F (163°C). Grease a 9-inch round cake pan or line the bottom with parchment paper.
- To make the Oreo crust: blend Oreos into crumbs using a food processor or a plastic bag and rolling pin. Mix the crumbs with ½ cup of melted butter until the mixture is well combined.
- Press the Oreo crust mixture evenly into the bottom of the prepared cake pan. Place the crust in the freezer while making the filling.
- For the cheesecake filling: beat 24 ounces of cream cheese with 1 cup of granulated sugar and ½ teaspoon of salt in a large mixing bowl until smooth and creamy. Add 1 ½ tablespoons of all-purpose flour and ¼ cup of cocoa powder to the mixture, and mix until fully combined.
- Add 4 eggs one at a time, beating well after each addition. Stir in 1 tablespoon of vanilla extract and ½ cup of sour cream on the addition of the last egg, mixing until smooth.
- Pour the cheesecake batter over the Oreo crust in the cake pan. Smooth the top with a spatula.
- Bake the cheesecake in the preheated oven for 45-50 minutes, or until the edges are set and the center is just slightly jiggly. Turn off the oven and let the cheesecake cool in the oven for about 1 hour with the oven door cracked open. Afterward, refrigerate the cheesecake for at least 4 hours or overnight to fully set.
- Once the cheesecake is chilled and set, top with crushed Oreos, Cadbury eggs, and Peeps for a festive touch.
Notes
• Refrigerate leftovers. Cover the cheesecake tightly with plastic wrap or store it in an airtight container and keep it in the refrigerator.
• Eat within 3–5 days. The Easter Chocolate Oreo Cheesecake stays fresh in the fridge for up to five days when properly stored.
• Freeze for longer storage. Wrap each slice tightly in plastic wrap and place it in a freezer-safe container or bag.
• Thaw before serving. Move frozen slices to the refrigerator and let them thaw overnight for the best texture and flavor.
Nutrition Information:
Yield:
10Serving Size:
1Amount Per Serving: Calories: 940Total Fat: 55gSaturated Fat: 27gUnsaturated Fat: 28gCholesterol: 177mgSodium: 774mgCarbohydrates: 106gFiber: 4gSugar: 63gProtein: 12g
**Nutrition is calculated by a third party. Actual values may vary.