
Last Updated on December 27, 2024 by Kimberly Stroh
One of my favorite holiday traditions is whipping up some treats in the kitchen. It’s something that’s relaxing to me and I enjoy letting the kids help me out. We’re officially a month away from our next Disney World trip and the whole family is excited to go. Inspired by one of my favorite characters, I made these adorable Christmas Minnie Mouse Rice Krispies Treats.

They are fun to make and everyone is impressed by them! I’ll let you in on a secret though, they are beyond easy to throw together. I love that you don’t have to use your oven to bake anything either. Just follow the traditional Rice Krispies Treats® recipe below, dip in chocolate, and add the Minnie Mouse bow.
What Kitchen Tools You’ll Need
For this recipe, you’ll need a 9×13-inch baking dish, a medium-sized pot, a bow-shaped cookie cutter, Mickey Cookie Cutter, and wax paper. The wax paper is optional but makes it so much easier to pull the Rice Krispies out of the baking dish.
How To Store Leftovers
Transfer any leftover Rice Krispies Treats to an airtight food storage container. For the best freshness, enjoy the treats within 2-4 days of making them. They should stay soft and ready to enjoy. I do not recommend freezing these Rice Krispies Treats.
Christmas Minnie Mouse Rice Krispies Treats Ingredients:
- Jet-Puffed Large Marshmallows: or a bag of mini-marshmallows
- Butter: salted or unsalted works
- Holiday Edition Rice Krispies Cereal: Find this during the holiday season in late October
- Store-bought Red Fondant: Find this in the baking section ready to roll
- Milk Chocolate Melting Candy
- Green Icing: I used a store brand of Cookie Icing
How To Make Christmas Minnie Mouse Rice Krispies Treats
Be sure to grab the holiday edition of Kellogg’s Rice Krispies.

Melt your ingredients over the stove and be sure to keep stirring! Stir until everything melts.

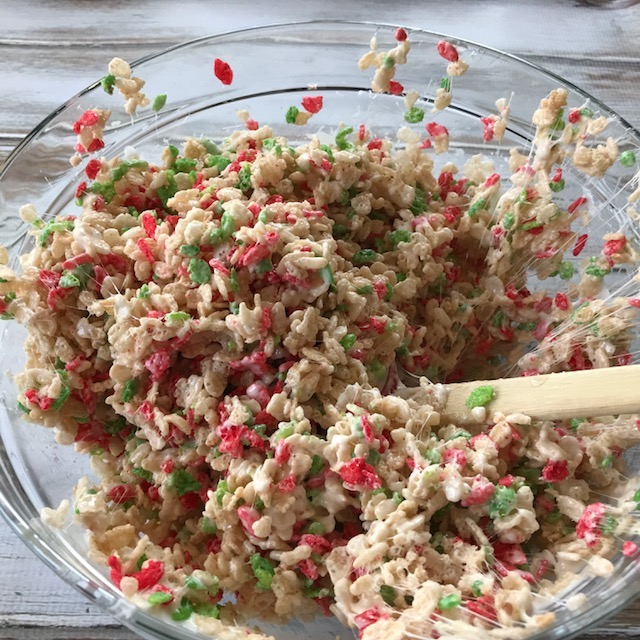
Combine it with cereal, in a big bowl.
Press into a baking pan and even it with a spatula. Tip: place wax paper between your spatula and the Rice Krispies so it doesn’t stick and you can create a nice even layer.

Pull the layer of Rice Krispies out of the baking dish and use a Mickey shaped cookie cutter to create the base layer. A sandwich Mikey cutter also works. Dip each top half into melted chocolate and let cool.

Using a printed Minnie Mouse bow design, carefully cut out the bow on top of rolled fondant. Place each bow in the center of the treat, securing it with icing, and trace the green accent icing on top of the fondant bow.

Christmas Minnie Mouse Rice Krispies Treats


Cute for the holiday season, these Christmas Minnie Mouse Rice Krispies are inspired by Disney Parks snacks.
Ingredients
- 40 Jet Puffed Marshmallows
- 3 Tablespoons Butter
- 6 Cups Holiday Edition Rice Krispies® Cereal
- Milk Chocolate Melting Candy
- Store-Prepared Red Fondant
- Green Icing
Instructions
- Combine the marshmallows and butter, in a pot, over the stove until melted. Stirring constantly.
- Add to cereal and combine. Cover a 13x9 inch baking dish with wax paper and pour mixture into the dish.
- Press mixture evenly into the pan, using your spatula. If it's too sticky, use a top layer of wax paper over the mixture.
- Refrigerate for 20 minutes.
- Remove from pan and use a Mickey-shaped cookie cutter to cut shapes.
- Melt the milk chocolate, using the microwave instructions.
Dip the top half of each treat into the melted chocolate. Let cool.
Roll the red fondant. Using a knife, carefully cut a Minnie Mouse bow design from the red fondant. - Place a small dot of green icing on the back of the bow and secure to each treat. Trace the green icing accent on top of each bow to finish.
Notes
- Transfer leftovers to an airtight food storage container. For the best freshness, enjoy within 2-4 days of making.
Recommended Products
As an Amazon Associate and member of other affiliate programs, I earn from qualifying purchases.

